Like us on Facebook | Tag on Instagram: #wintercraftcommunity #wintercraftpics #icewrangler
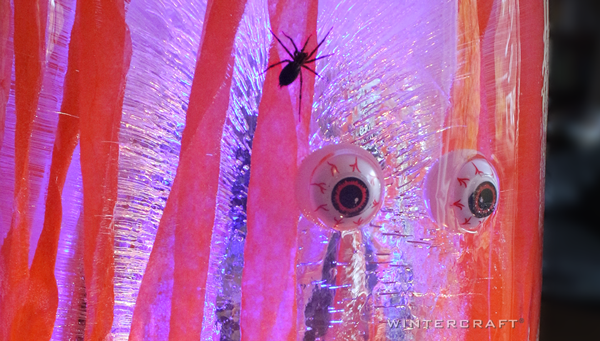
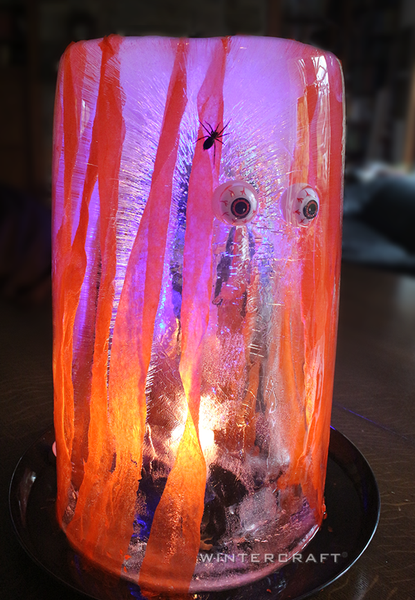
As the mild-mannered Wintercraft Ice Wrangler, my goal was not to make an ice lantern that was horrifying, but fate seemed to drop in—literally. I'm not talking about the zombiesque eyes, but the spider! As I was snapping photos of the ice lantern for this blog, down it came on its silky thread and landed next to one of the eyes that was staring out of the ice. I shrieked, then I bluhhhhhed [shiver of disgust]. Well, of course I shrank back in horror when I saw it, but then, when the spider hit the ice, it went into slow motion. I took a breath, stepped closer and starting taking photos again. Eventually, its lethargy even allowed me to take a small stick and reposition it for greater effect. Haha . . . [That was a nervous laugh. I'm not a spider person.]
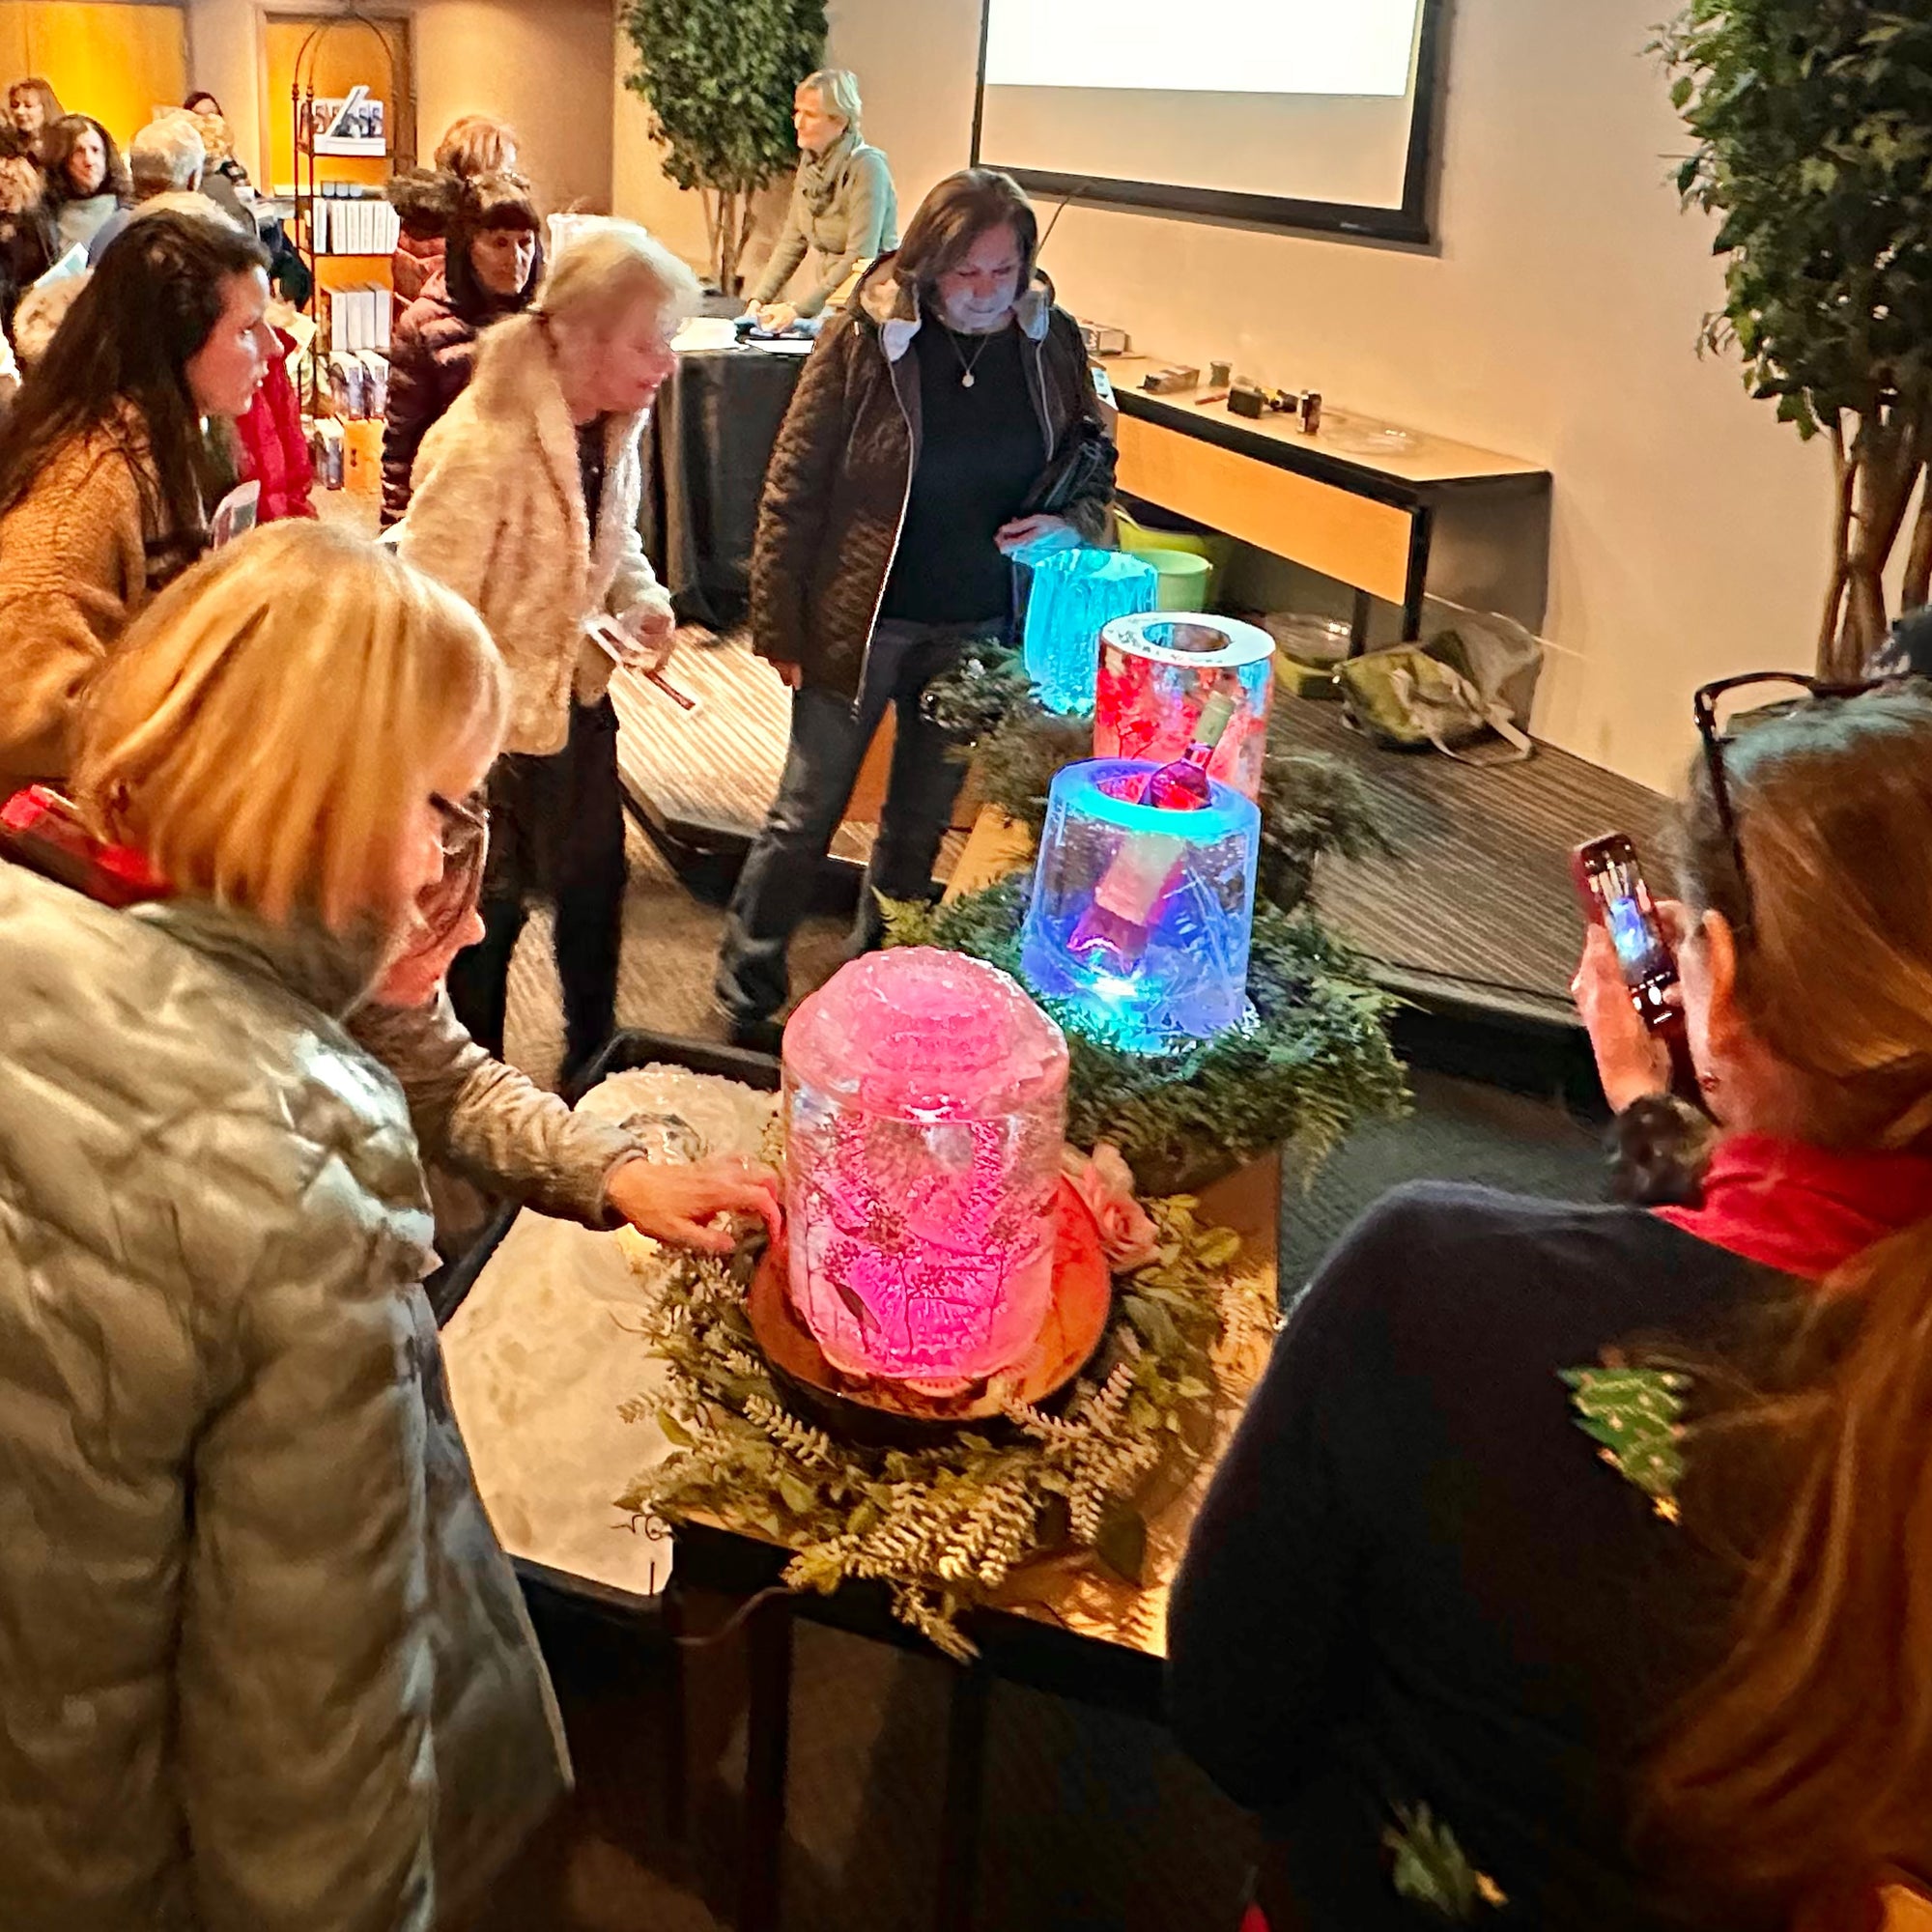
Some of you are probably thinking, "Wait a minute, that's not a Globe Ice Lantern." And you would be correct. It is a Bucket Ice Lantern. Given that my book, Ice Luminary Magic: The Ice Wrangler's Guide to Making Ice Lanterns and Illuminated Ice Creations, is almost to the finish line, I thought it might make sense to start highlighting in my blog some of the many other types of ice lanterns that can be created.
I know I have been threatening to release my book for several years now, but the GOOD NEWS is that this summer a friend (Ellen), one of my sisters (Kat) and my husband (Tom) all offered to help organize/edit the book. All those fresh eyes (no pun intended) on the project was just what was needed. The advice I received from my editors was more photos! So over the summer, I have been creating all sorts of ice luminaries and photographing them now—in warm weather. Some are by the lake. Others are in the woods. And, of course, some are still in the snow. I am so excited for this book to be finished so I can share them all with you.
Too Many to Fit!
Unfortunately, this super fun Crepe Paper Ice Lantern might end up on the cutting room floor because we cannot seem to fit all the projects into this one book. So, I was thinking it would make sense to share it now. The Crepe Paper Lantern project has been on the cut list for a while now, so I have not done companion illustrations yet, but I will share the step by step instructions below. If we manage to squeeze it into the book, you will find it in the "Adding to the Ice" section, which discusses ways to freeze items into ice lanterns of all shapes --plus, there will be illustrations detailing the process.
Here are written instructions for using weights to add FLAT items, such as Crepe Paper, to a bucket ice lantern.
What you will need:
• a deep freezer or access to below freezing outdoor temps
• utility bucket of desired size (I used a 5 gallon bucket)
• a dozen or so quarters and the same number of pennies
• crepe paper in any color(s) you like
• hot glue gun + hot glue sticks
• Eyes? I like novelty ping pong balls with painted eyes.
• Spider? You probably won't find spiders climbing around your house, so to add one, just look for a small plastic spider at a dollar store or craft store.
Let's Begin . . .
1. Cut off several long strips of crepe paper so they are several inches longer than the utility bucket is tall.
2. Hot glue a quarter to one end of a strip of crepe paper and a penny to the other end. Repeat for all the pieces of crepe paper.
3. Put the quarter end of one of the crepe paper pieces down into the utility bucket and drape the penny end over the top of the bucket. Position the quarter end so it is about .5-1" away from the wall of the bucket. The quarter is heavy enough to keep one end of the crepe paper down when it is filled with water. The penny is heavy enough to keep the other end of the crepe paper draped over the top of the bucket.
4. Twist the crepe paper to get a more 3D effect, if desired.
5. Repeat with all the crepe paper pieces so they are going all the way around the bucket.
6. Add Eyes? If you want to add eyes, simply add a small dot of hot glue directly to the painted eye and press it to the inside wall of the bucket where you would like the eye to be on the ice lantern. Repeat with other eye, unless you want a cyclops, of course.
7. Add Spider? If you want to add a plastic spider, add a small dot of hot glue to the back of the spider and attach it to the inside wall of the bucket. (The legs should be pointing towards the middle of the bucket.)
8. Gently fill the bucket with water and rearrange the crepe paper if necessary. (The crepe paper should be within 2" of the wall of the bucket.)
9. Place the water-filled bucket on a piece of insulation in a freezer or outside if the temps are below freezing. (The insulation should keep the water in the bottom of the bucket from freezing.)
10. Look through the top of the ice lantern to see the thickness of the developing ice crust. A 2" ice crust is a great thickness. I find 24 hours at 0°F/-17°C does the trick. For thicker ice, larger buckets or warmer temps, let it freeze longer. For thinner ice, smaller buckets or colder temps, freeze it for a shorter time.
11. Put the bucket with the frozen ice lantern upside-down in a sink and let it sit for at least 15 minutes. At that point, if the ice lantern has not fallen out of the bucket on its own, you can help it along by pouring warm water over the bucket until it releases. (Worried about damaging your sink? A folded up towel in a plastic bag under the ice lantern bucket helps to minimize damage to your sink, if the ice lantern does fall hard from the bucket.)
12. Empty out the unfrozen water through the open ice lantern bottom, which should have stayed open because of the insulation under the bucket. (If it did close up, just drill a hole.)
13. Remove all the crepe paper with the pennies attached that is sticking out the ice. If you want to remove the quarters, stand the ice lantern in the sink with the quarters side down for a few minutes. Eventually, the sink will warmed up the quarters enough to remove them from the ice.
DONE! Your beautiful Crepe Paper Ice Lantern is ready to light up with a candle or LED lights. Wow! I hope you will let me know if you try this fun technique! Send photos! I'm in love with this project - maybe I will try to shoe horn it back in the book :)
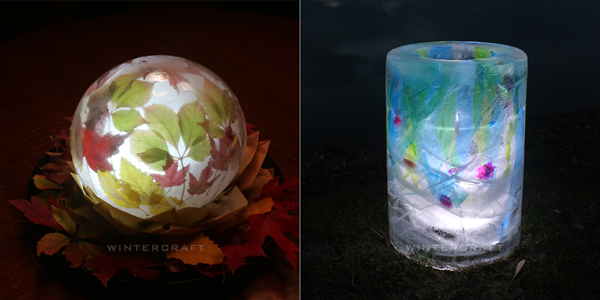
Here's are two less scary examples of a adding flat items to ice for the book which uses a different method . . .
So, Ice Luminary Magic is quickly taking shape and we hope to start a Crowd Funding project soon - which should help determine how many to print, etc. If you would like to receive a notice of the book release info and/or the crowd funding project, please sign up for our Newsletter Email List (scroll down to the bottom of the Contact page.) . If you are already receiving email notices from us, thank you and stay tuned . . .

Enjoy the Glow!
Jennifer Shea Hedberg - The Ice Wrangler
***
©Wintercraft. All Rights Reserved. This blog post may be linked to and credited, however, the contents including all photos, videos and text may not be reproduced in any form without written permission.
Comments will be approved before showing up.