
Like us on Facebook | Tag on Instagram: #wintercraftcommunity #wintercraftpics #icewrangler

If you live in a warm climate or it's not quite cold enough yet to make a Wintercraft Globe Ice Lantern outside, relax - you can still make a beauty for your next event. You just make it in a Freezer!
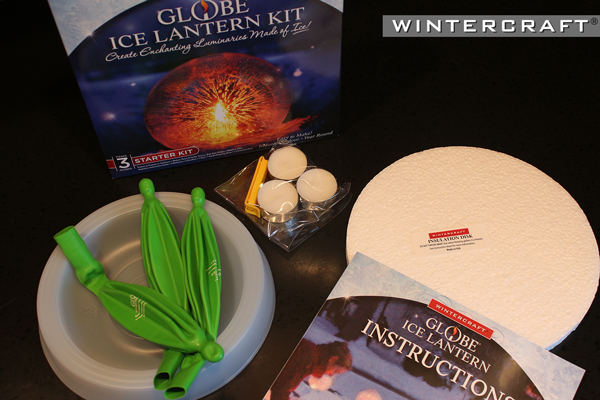
When you open a Wintercraft Globe Ice Lantern Kit, you will find the Instructions, Freezing Base(s), Globe Ice Lantern Balloons, Easy-close Balloon Clips, Candles and an Insulation Disk. In this blog I will go into detail about making a globe in a freezer. Besides illustrating the basic steps, I will add in some tips here and there to help, too.
Most people have space for a small globe in a freezer, so that is how I will focus this blog. But, you can also apply these same instructions to make a large Globe Ice Lantern in a large chest or upright freezer.
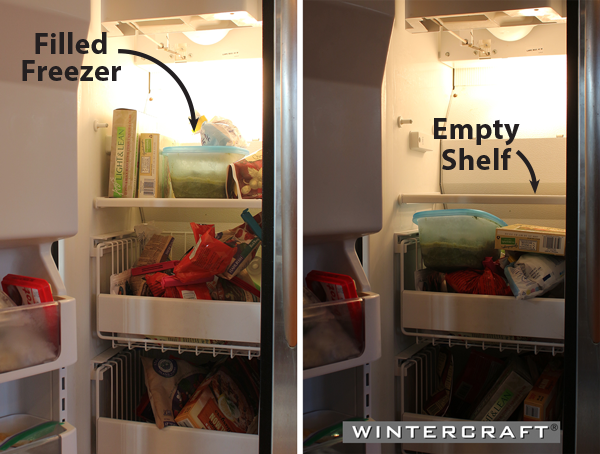
1. Clear out an area with your freezer that has a level surface and has about as much space as would hold a gallon of ice cream. The space I am going to use is a shelf in my side-by-side freezer that is 12"w x 12"h x 11"deep.
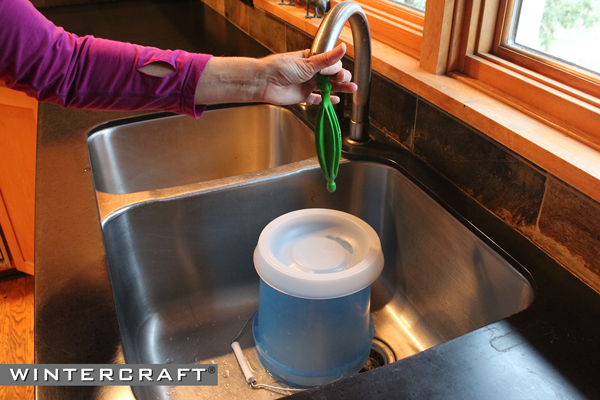
2. Place an overturned bucket or large cooking pot into the sink where you will fill the balloon. This will offer a raised surface to help support the balloon as it is filling with water.
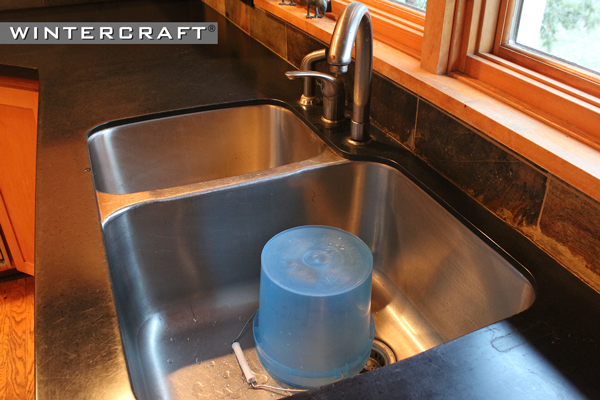
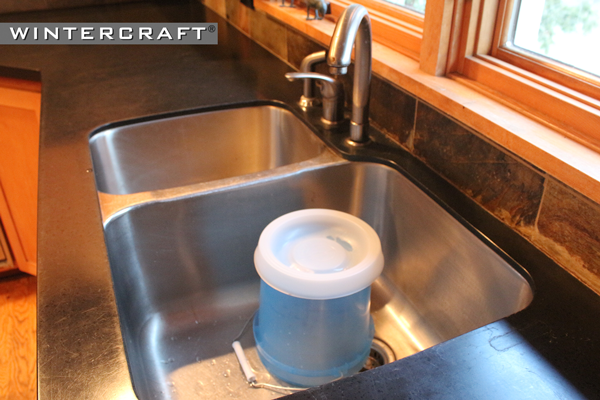
3. Place the Freezing Base on the bucket. This will help you judge how much water to put in the balloon.
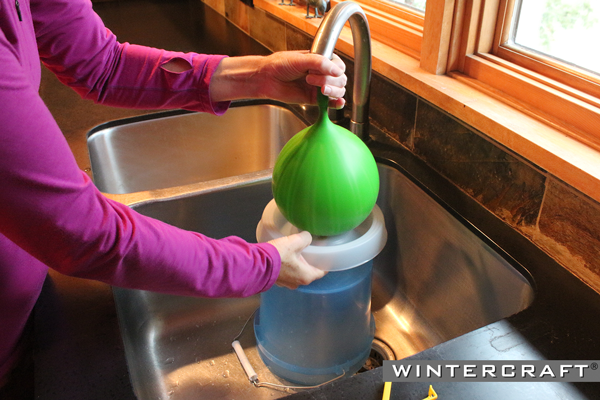
4. Wrap the open end of one of the Globe Ice Lantern Balloons around the head of a faucet and use the pressure of the water to fill the balloon with water. For a small Globe Ice Lantern, I usually put in about 14 pounds of water or until it looks as big as a soccer ball. TIP: I try to use really cold water as it helps the rubber of the balloon stay firm. Using hot water will make even our industrial strength balloons sag.
![]()
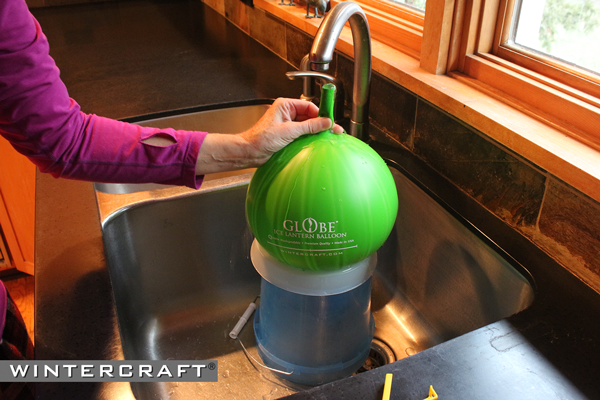
5. When it is the desired size, release excess air from the balloon. To release the air, hold the opening of the balloon between your index finger and thumb and loosen your grip ever so slightly until you can hear the air releasing. You will know all air is out when water starts to bubble out - then twist the top of the balloon twice and clip closed. TIP: If you don't release air from the balloon after it's filled, the top of your globe ice lantern will most likely have a large flat spot on top.
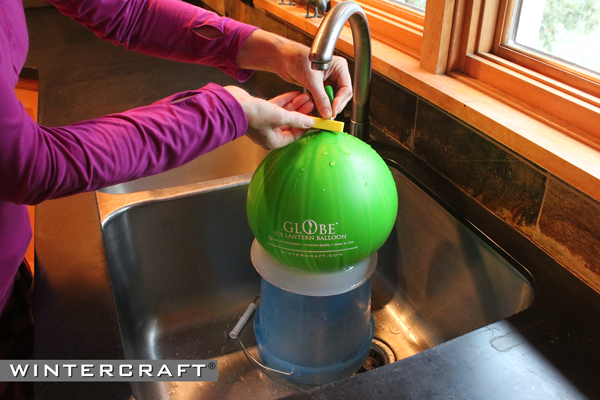
6. Twist the neck of the balloon twice and clip closed with the Wintercraft Easy-close Clip.
7. Place the Wintercraft Insulation Disk on the counter near the sink.
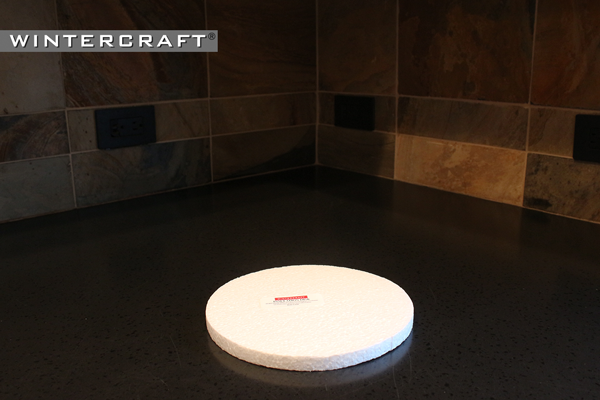
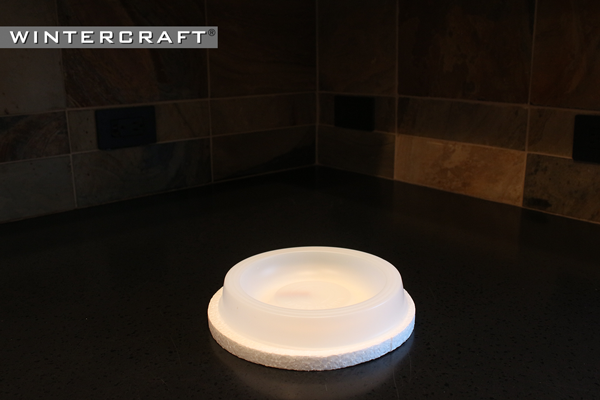
8. Place the Wintercraft Freezing Base on the Insulation Disk.
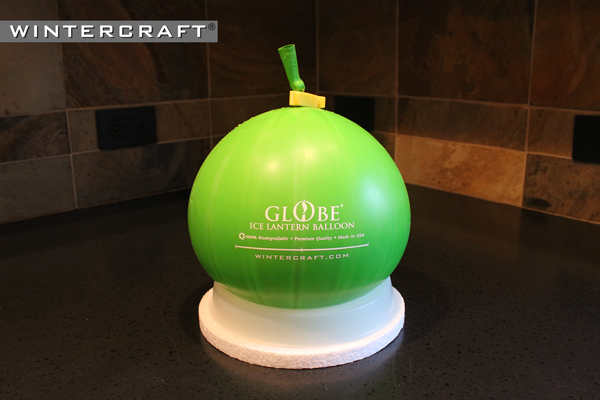
9. Place the water-filled balloon in the small Freezing base with the clipped side up. If the balloon rolls around inside the Freezing Base, you might want to add some water. If the balloon wants to fall out of the Freezing Base, unclip the balloon and release some water until it sits nicely. This step is important as the finished Globe Ice Lantern will be the shape it is while it is freezing. If it looks lopsided in the base, it will look lopsided when it is finished.
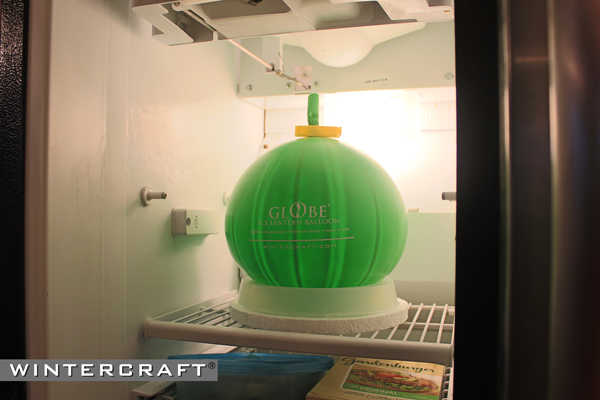
10. Pick up all three together as a unit - the Insulation Disk, the Freezing Base and the filled Globe Ice Lantern Ballon - and slide into place in the freezer. TIP: If I were putting them into the bottom of a chest freezer, I would put the Insulation Disk and the Freezing Base into place in the freezer first and then place the balloon into the base from above.
11. If I am making a small Globe Ice Lantern in my freezer which is set at the standard 0° F (-17.78°C), I would expect it to be nicely frozen about 24 hours later. TIP: Halfway through the freezing process (in this case that would be 12 hours later) rotate the globe 180°. This is especially important if two or more Globe Ice Lanterns are put in together into a freezer or if the balloon is placed near the door of the freezer, otherwise the interior chamber(s) of Globe Ice Lanterns can form off to one side. TIP: Most freezers are set for 0° F (-17.78°C). If your freezer is set for colder, will take less time, and if your freezer is warmer, it will take more time.
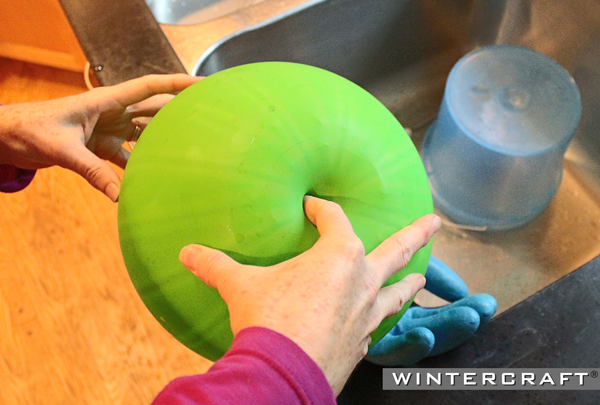
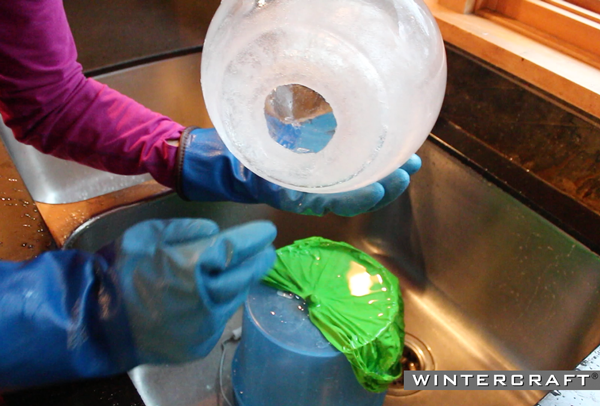
12. When it has been 24 hours (or the amended time based on the temperature of your freezer), lift the Globe Ice Lantern Balloon out of the freezer and it hold upside-down over a sink. The bottom of the globe should remain unfrozen because it was insulted by the Insulation Disk and the Freezing Base. In the middle of this unfrozen area, there is a small protrusion in the balloon. With your index finger, push it into the balloon and then push down further so your finger is inside the balloon. Pinch your thumb and index finger together to be able to feel how thick the wall of ice is inside the balloon. If it feels too thin, put it back in for at least 4 more hours and then retest. If it feels thick enough, it's time to open it.

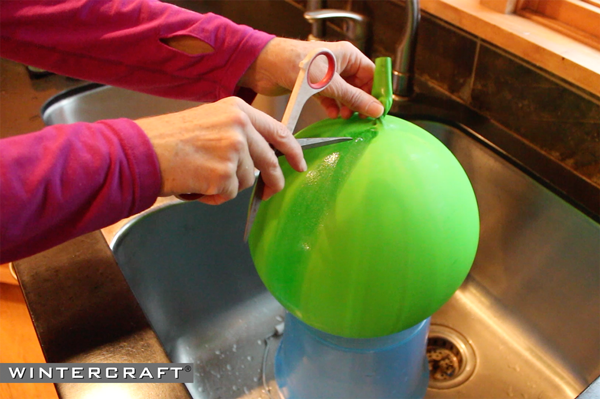
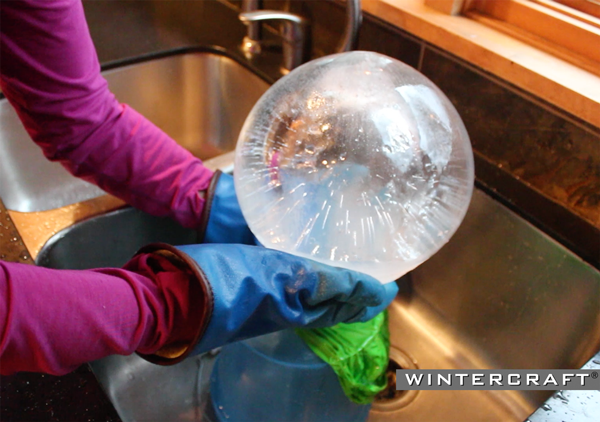
13. To open the Globe Ice Lantern Balloon, put it into a sink and with the edge of a pair of sharp scissors make a slice in the balloon. The balloon should peel easily away.
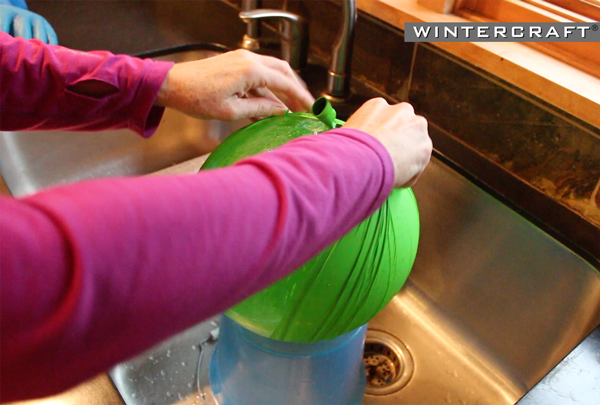
14. Lift the globe up to release the water, which should gush out a hole in the bottom (where the ice did not form because of the Insulation Disk and the Freezing Base).
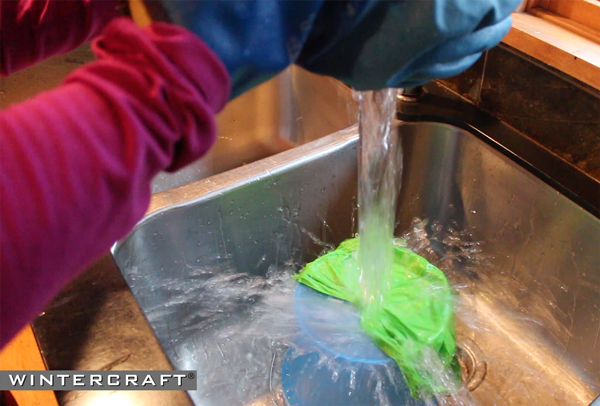
15. Your Globe Ice Lantern is now ready to use!
TIP: If you want to use the Globe Ice Lantern at a future date, simply put it into a plastic bag and then back in the freezer. TIP: While the Globe Ice Lantern is in the freezer, do not put anything warm or hot next to it or it may melt one side or make a divet into the ice.
Enjoy the Glow!
***
©Wintercraft. All Rights Reserved. This blog post may be linked to and credited, however, the contents including all photos, videos and text may not be reproduced in any form without written permission.
Here a few other blogs that you might find helpful:
How to Make a Globe Ice Lantern Basics
How to Light a Globe Ice Lantern Basics
Crazy Like a Fox - Freezer Precautions
Great post, very helpful, good pics.
Comments will be approved before showing up.


08 December, 2015
Susan
HATE that we have to do them in the freezer this year. I usually do dozens of them, varying sizes, and this is definitely putting a crimp in things. I wondered how long it would take in the freezer, so this is helpful. But my kits are older and I have never had an insulation disk. I assume I can use something similar. I don’t usually use them, but the deeper temps of the freezer might make them necessary. Thanks for this, and let it freeze, let it freeze, let it freeze.