
Like us on Facebook | Tag on Instagram: #wintercraftcommunity #wintercraftpics #icewrangler
If you're like me, you have received many large tins of popcorn which means you probably have an extensive collection of tall, colorfully decorated tins that are collecting dust in the basement. You might even have some large cookie tins, too. If that's true and you'd like to try a new way to bring an ice lantern inside, try this fun idea for a drip tray system (way to catch the melting ice) and let me know what you think.
You will need:
• tin with a lid that is at least 10" in diameter and 4" high or taller!
• sharpie marker
• ruler
• scrap of wood or several pieces of heavyweight cardboard
• large nail
• hammer
• large plastic bag without any holes
• 4 cups of water - approximately
• scissors
• duct tape or other strong tape
• length of ribbon or other decorations
• votive candle and glass candleholder
• matches
• small ice lantern with a chimney drilled for a candle
(chimney directions - page 54 of Ice Luminary Magic book
• extra decorations
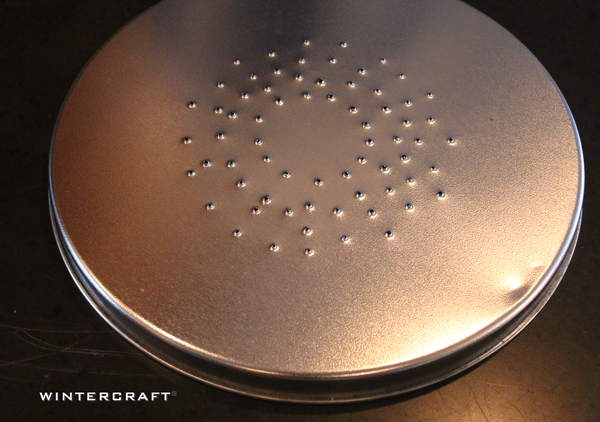
Step 1: Punch Holes
The tin's lid will need holes punched into it so the melting ice can flow into the tin. With a scrap of wood (or several layers of cardboard) underneath to protect your work surface, use a hammer and nail to punch a few holes into the lid. The holes should be punched with the top of the lid down so the points of tin that are created from the nail will be pointing up. (WARNING! The tin points around each punched hole will be sharp!)
Where to Punch the Holes
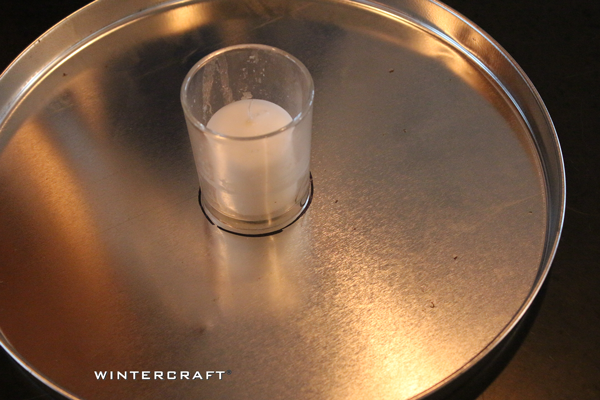
Place the glass candleholder in the middle of the underside of the tin's lid. Trace around the glass candleholder with a Sharpie (waterproof) marker.
Draw another line 2" out from the center circle all the way around so that an approximately 6" diameter circle is created.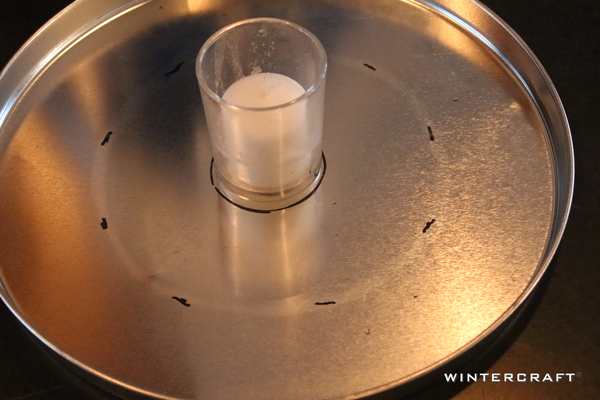
Punch a ring of holes just outside of the central 2" circle. Do not punch inside the center hole. 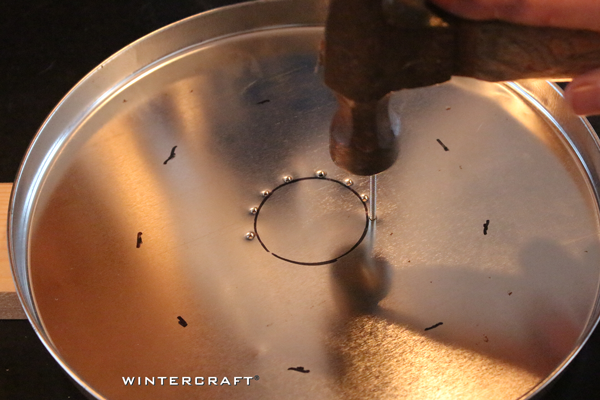
Punch holes in a 2 hole - 3 hole - 2 hole pattern in the space between the central circle and the outside of the 6" circle. Don't punch too many holes or the tin will become weakened.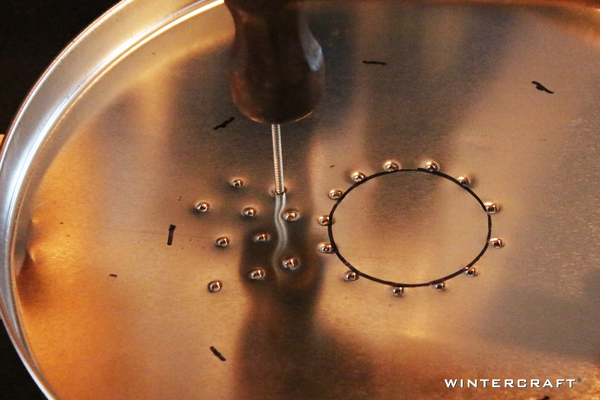
Step 2: Air Holes & Drainage Holes
To insure the melting ice goes into the tin below and to make sure air can get into the tin, punch a few holes about 3/4 inch from the edge and add a ring of hot glue to keep the water from running over the edge of the tin. Make sure the barrier of hot glue is tall enough that the water will be stopped. Test it!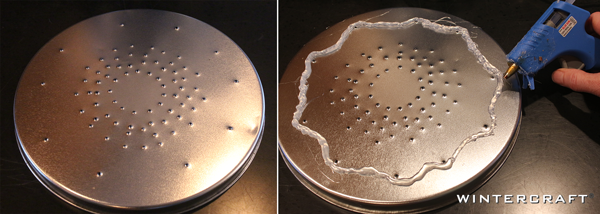
The tin I chose to use had a lid with an indentation all the way around the lid that acted like a trench, so instead of adding the hot glue dam, I just punched some holes in the bottom of the trench so any water that flowed that direction would go into the trench and down one of the holes. For the record, while I was testing this drip tray system, no water ever made it past the center holes. I believe the weight of the ice cause the center of the tin to sink so the water just stayed in the center and dripped into the tin. It worked perfectly!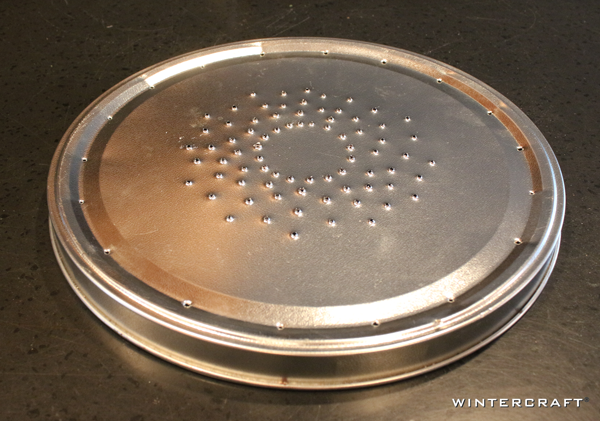
Step 3: Add Plastic Bag
If the tin does not hold water (surprisingly, most decorative tins do not) line the tin with a plastic bag and fold the top of the bag over the top of the tin.
Add about 4 cups of water (to make sure the bag is touching the bottom). 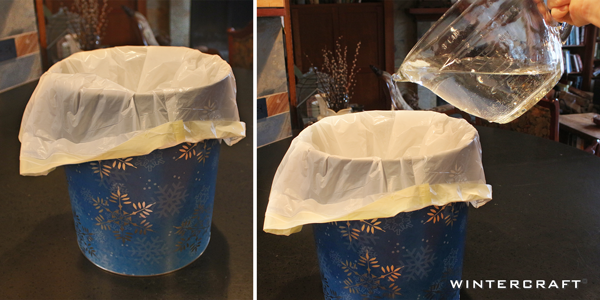
Step 4: Trim Extra Plastic Bag
Replace the lid of the tin and using a pair of scissors, trim the plastic bag so 1/2 inch of plastic can be seen below the tin's lid. 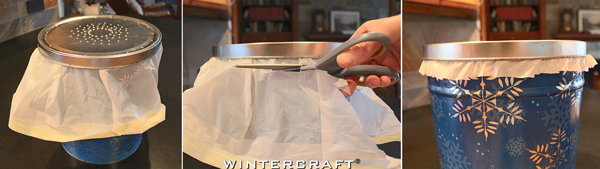
Use strong tape (like duct tape) to secure the cut end of the plastic bag to the outside of the tin below the tin's top. Try not to tape over the tin's lid.
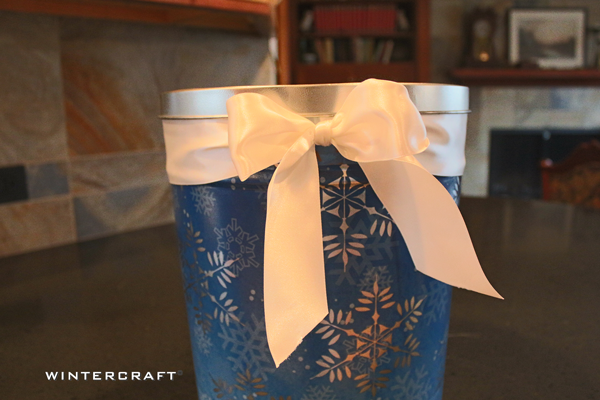
Step 5: Cover Up/Decorate
Use a ribbon to cover up the duct tape and secure. Use hot glue if necessary to hold it in place.
Step 6: Remove Water
Remove the tin's lid and empty out the water from Step 3 and then put the tin's lid back into place.
Step 7: Add Candle
Place a votive candle in a glass candleholder and position in the center of the tin's top within the center ring of punched holes and light with a match.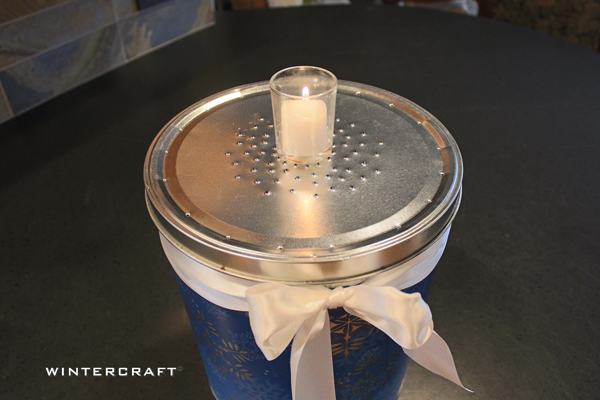
Step 8: Add Ice Lantern
Position the ice lantern over the candle so it is sitting on the punched holes. The points of the punched holes will help hold the ice lantern in place. The ice lantern should not be larger than the lid!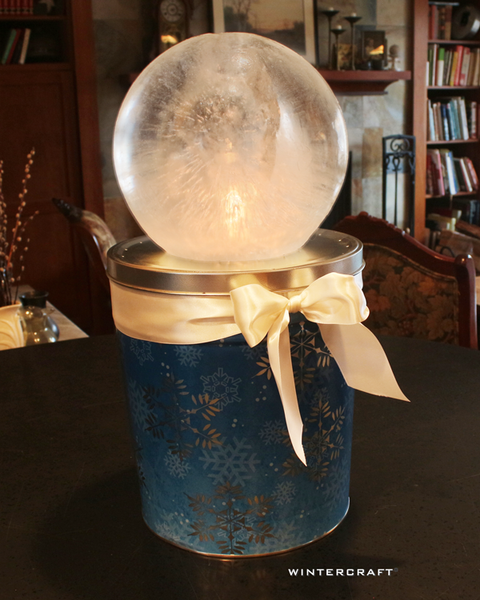
Step 9: Extra Decorations (optional)
Add more decorations around the base of the ice lantern if desired.
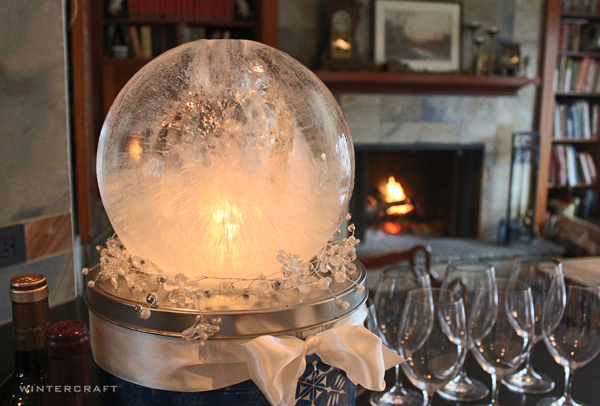
As you can see, I opted to use a globe ice lantern on top of the popcorn tin and determined where to place the punched holes accordingly. You can use any ice lantern shape that you would like, but be sure that it is not larger than the lid. The melting ice needs to be able to flow into the holes punched in the tin's lid.
Don't have a popcorn tin? They can be found in almost every store during the Holiday season, or most thrift stores tend to have a great supply.
I hope you try this fun and easy way to bring the magic of ice lanterns inside. When you do, I would love to see a photo!
Enjoy the Glow!
-- Jennifer Shea Hedberg, The Ice Wrangler
***
©2018 Wintercraft. All Rights Reserved. This blog post may be linked to and credited, however, the contents including all photos, videos and text may not be reproduced in any form without written permission.
This looks fabulous, what a great idea! I can’t wait to try it!
Comments will be approved before showing up.


24 December, 2018
Linda Berg
I knew those tins I’ve been saving would come in handy! Thank you!