Like us on Facebook | Tag on Instagram: #wintercraftcommunity #wintercraftpics #icewrangler

On the day I am writing this blog, the news is reporting "historic" low temperatures all across the United States, so it seems like a good time to mention that Globe Ice Lanterns can be created and displayed INSIDE. And on frigid days like the the ones just ahead, that might be the safe way to experience this amazing ancient craft.
So what is the best way to bring a Globe Ice Lantern inside?
There are many ways, so I will describe the basics, give one example, and then you can call upon your own creativity and your pantry cupboard and see what you can whip up.
The BASICS:
#1. CONTAINER - You need a bowl or something large enough to catch the melting ice. Wide and low with a flat stable bottom works the best. But you should be able to fill a balloon, empty the contents into the bowl and if it does not overflow, then it should work nicely*.
#2. RISER - You need something to put into/on the bowl that will hold the Globe Ice Lantern above the melting ice. I find a tiered cake plate works the best, but a small bowl filled with gravel or anything else you can think up might work. Test the arrangement for stablility, and if using a candle also test for airflow.
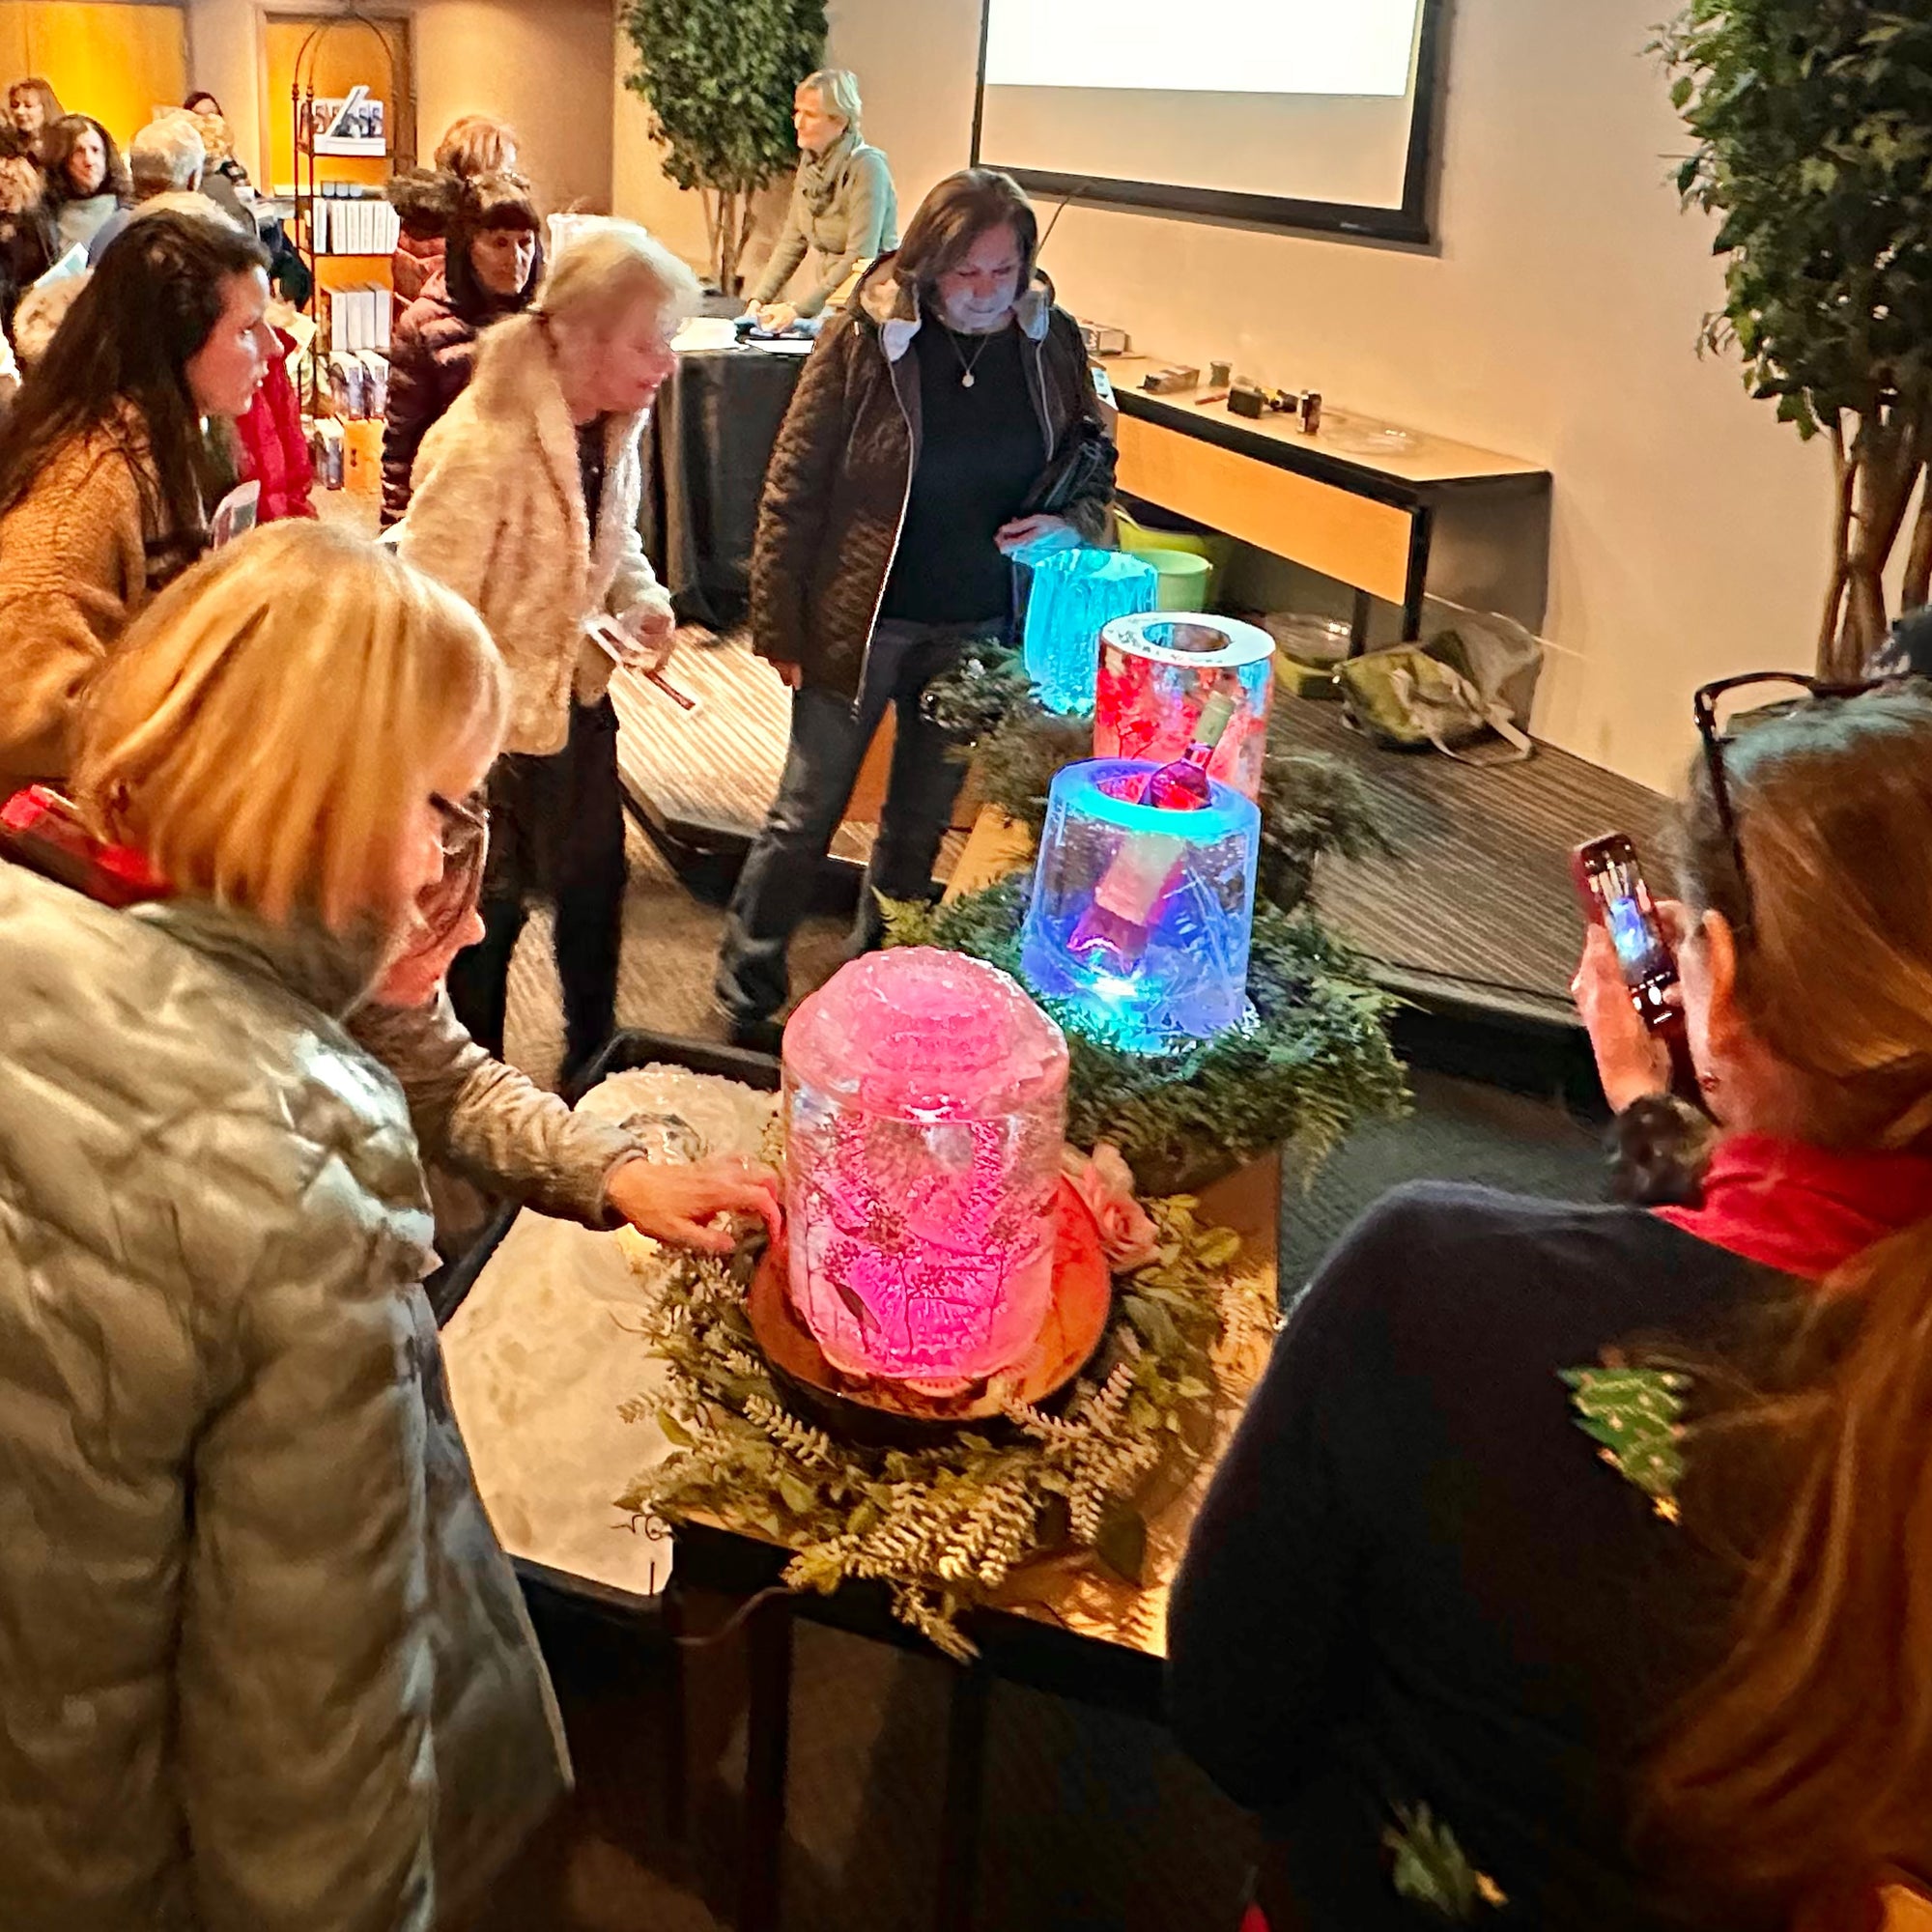
#3. DECORATIONS - A Globe Ice Lantern by itself is lovely, but the look can be enhanced when it sits in a nest of flowers or greens. I have found the quickest and easiest way to dress up a Globe Ice Lantern Centerpiece is to use a tiered cake plate surrounded by a wreath of greens that is laced with flowers. The greens and flowers can be real or fake - that's up to you and what you have available.
#4. - ILLUMINATION - I am a diehard candle-in-an-ice-lantern person, but LED lights are convenient and bring color into the equation that is both beautiful and easy. A string of lights meant for the outdoors or battery-powered LEDs work nicely.
#5. - ENJOY - If you are bringing a Globe Ice Lantern inside, make sure you (or assign another) check the water level of the container of your display after a while. *Even if you have checked to make sure the container is large enough to catch the water, if you put a RISER and DECORATIONS into the CONTAINER, it will displace valuable water space. Just something to keep in mind.
EXAMPLE - The photo above shows how I took a Globe Ice Lantern and turned it into a Palantir. The ideas was given to me by a young man who LOVES the fictional universe found in J.R.R Tolkein's Lord of the Rings. When I looked into what it was, I realized that a Globe Ice Lantern would make a perfect All-Seeing Stone Eye—a spherical stone that functions somewhat like a crystal ball.
Here's how I did it . . .
IMAGE #1 - I decided to use an old roasting pan that has a top with long slits. The bottom of the pan will catch the water and the metal rack with the slits will hold the globe and allow the melting ice to flow through.

IMAGE #2 - Because I want the flame of the candle to sit in the middle of the globe (like an eye), I need the candle to be higher. So I am using a small plastic cup, like a salad dressing to-go cup, upside-down on the rack.

IMAGE #3 - I placed the lit candle on the plastic cup.

IMAGE #4 - I have already created a chimney in the top of the Globe Ice Lantern, so I can just put it over the candle*. The holes in the rack should allow for good airflow, but this would be a good time to make sure the candle is burning brightly. If it is dying, you need to create a gap in the bottom of the Globe Ice Lantern. An easy way to do that is to simply put a small wooden matchstick under one side of the globe.

IMAGE #5 - The rack of this roaster allows a very easy way to decorate. I just covered the whole thing with chunks of fake ice which I purchased at a craft store, but any type of stone, marbles or flowers would work.

So, now zoom back up to the top image for the final look. As you can see, I decided wrapped the whole thing in green fur to give the background a rich, fantasy-like texture.
Easy, fun, magical!
I hope you will try this with one of the Globe Ice Lanterns you created. And you can do this even if is is nice outside, but it is especially nice when it is -20°F. Yikes! In my opinion, anything below 8°F is unnecessarily cold...but that's a different blog.
Enjoy the Glow!
*LED ALTERNATIVE: I could have used a red battery-powered LED light or a string of red lights clumped into a ball instead of a candle. A chimney is not needed when LED lights are used.
***
©Wintercraft. All Rights Reserved. This blog post may be linked to and credited, however, the contents including all photos, videos and text may not be reproduced in any form without written permission.
Comments will be approved before showing up.